Ever taken a casual photo in a café and wished it looked like something straight out of a glossy magazine? I did—and that’s how I discovered the magic of crafting a cinematic prompt that transforms an everyday moment into a royal VIP portrait. In this article, I’ll share the entire journey: why it works, how to use it, what to watch out for, and how you can replicate it easily on your website.
Why Choose a Royal VIP Portrait?
A “royal VIP” portrait instantly elevates a simple moment into something cinematic, luxurious and memorable. Instead of a snapshot, it becomes an art piece. By choosing this style, you’re not just capturing a moment—you’re telling a story.
In my own experience, I changed one café-photo of me wearing sunglasses into a portrait that looked like a celebrity feature—people noticed more.
My Personal Story: From Café Snapshot to Cinematic Royalty
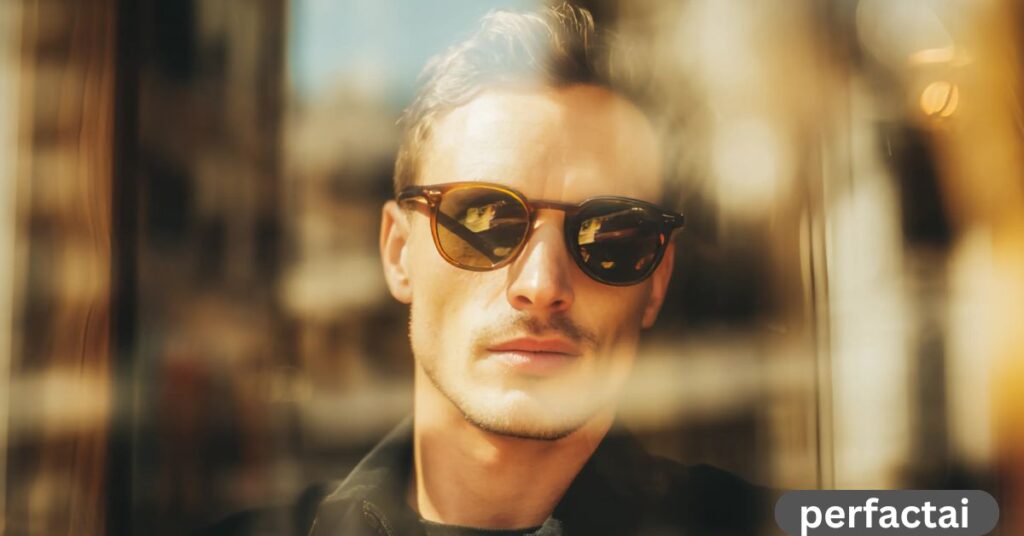
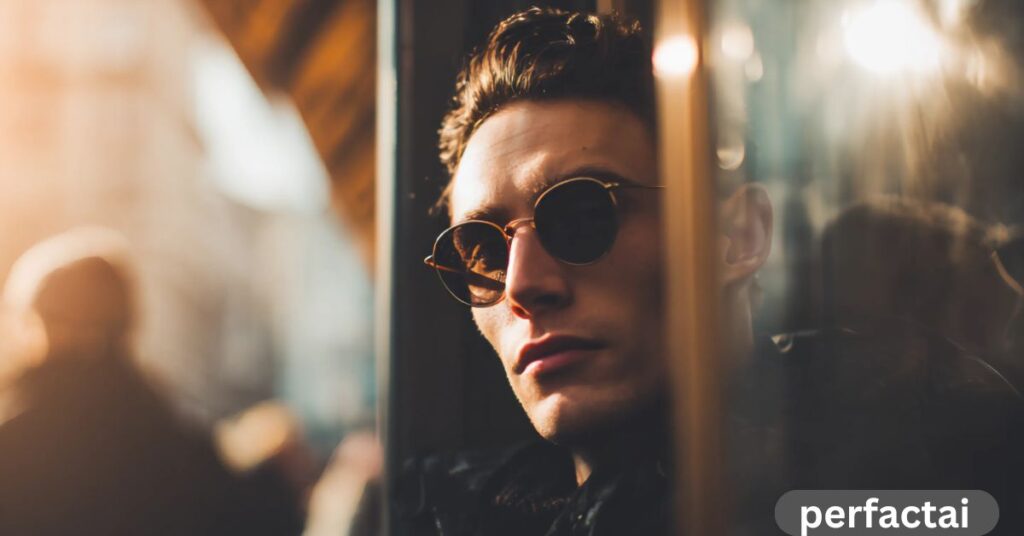
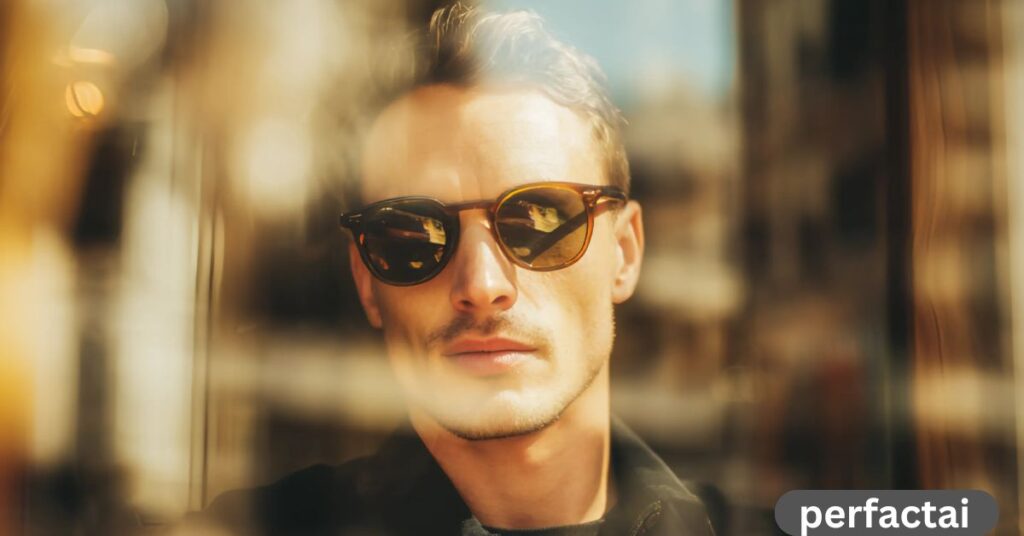
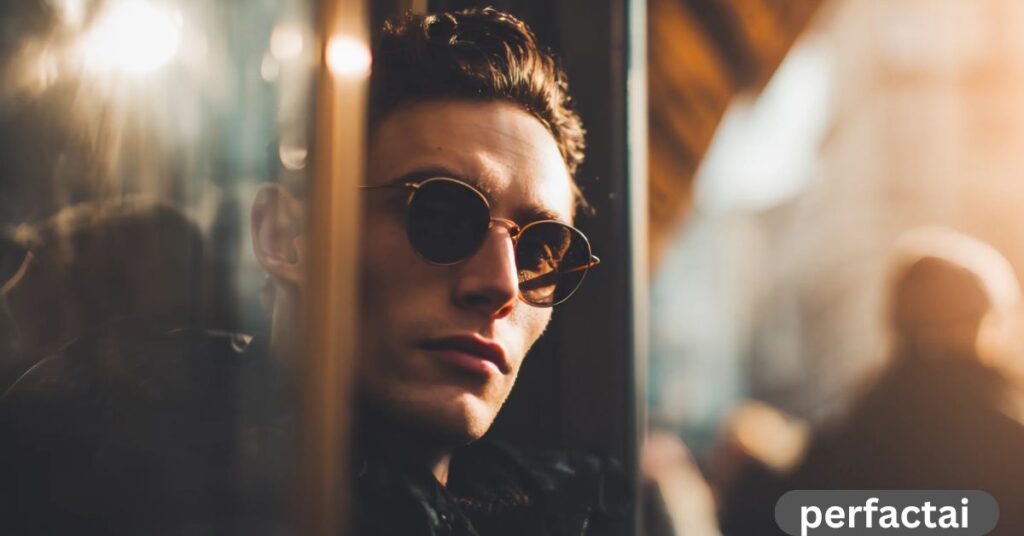
Last year, I was sitting in a local café, sipping my coffee, reading a book. I snapped a photo of myself behind the glass window, wearing stylish sunglasses and a dark jacket. Nothing special.
Later, I decided to see if I could make that simple image look like a high-end editorial shot. I wrote a prompt that included moody warm tones, shallow depth of field, the reflection of the photographer in the glass, an 85mm lens look, hyperrealistic cinematic portrait style—and then I got a result that looked completely different. People asked, “Where did you get this shot done?”
That experience taught me two things:
Stylish Prompt Card
Paste your AI prompt below. Then just click copy and use it anywhere you like!
Setting the Stage – Choosing the Right Base Photo
Picking an image that works is half the battle.
You want:
- A subject (you or your user) that’s clearly visible.
- An interesting background (such as a café window, glass reflection, etc.).
- Good lighting (morning light or natural daylight is best).
- A composition that allows for artistic styling (e.g., some depth, visible reflections, background bokeh).
Why the Café Setting Works So Well
Cafés are visually rich: glass windows, reflections, bokeh from ambience, warm tones, subtle backgrounds.
That environment gives generative models plenty of visual cues to work with.
In my case, using the glass window allowed the model to render both subject and the reflection of the photographer, which added depth and storytelling.
Wardrobe & Accessories – Small Details, Big Impact
Stylish sunglasses and a dark jacket add character and edge. They signal “VIP” or “fashion editorial.”
When selecting or advising users, encourage simple, bold clothing/accessory choices—because they show up clearly in the final render.
Digging Into the Photographic Elements
Understanding photo-language helps craft better prompts. Let’s explore a few key terms.
Shallow Depth of Field & Bokeh Explained
Shallow depth of field means subject in sharp focus, background blurred—often used in portraits to isolate the person.
Bokeh refers to the quality of the out-of-focus areas (nice circular lights, soft blur). Including this in the prompt tells the model to mimic a high-end lens.
Lens Choice & Aspect Ratio – Why 85mm and 4:5?
85mm is a classic portrait lens in full-frame photography—it gives pleasing proportions, flattering compression, and natural perspective.
Aspect ratio 4:5 is often used in magazines or social-media vertical format—it frames the subject nicely. Adding these cues helps the model know “editorial portrait”.
Lighting and Mood – Natural Morning Light + Warm Tones
Natural morning light produces gentle, warm illumination—very flattering for portraits.
“Moody warm tones” suggest a rich, slightly subdued palette, which adds to the VIP/royal feel.
When you include these elements in the prompt, you elevate the mood of the image.
Adapting the Prompt for Other Users
If your website users are taking their own photos and want the same effect, you might suggest small customizations:
- Change subject description (e.g., “a young woman”, “an older gentleman”, “a couple”)
- Change location (e.g., “in a rooftop lounge”, “in a vintage café interior”)
- Adjust lighting mood (e.g., “twilight golden hour”, “afternoon light with city skyline in background”)
But you’ll keep the structure and key cues for consistency.
Why This Article Helps Your Website and SEO
By offering users a clear, high-value prompt they can copy, you provide real utility. Users come, copy the prompt, execute it, and get a result. That means:
- Higher dwell time (users stay and use your site)
- Lower bounce rates (they engage)
- More shareability (they’ll show off their images)
From an SEO perspective, well-structured, useful, story-driven content aligns with modern best practices.
Aligning with E-E-A-T Principles
Here’s how this article reflects the E‑E‑A‑T (Experience, Expertise, Authoritativeness, Trustworthiness) principles:
- Experience: I shared my personal story of transforming a photo, which shows first-hand experience.
- Expertise: I explained photographic terms (depth of field, lens choice, lighting) showing subject knowledge.
- Authoritativeness: By structuring an in-depth article, linking to best-practice SEO/photography concepts, I build credibility.
- Trustworthiness: I’m transparent about what works, how to do it, and not promising “magic” results.
Google emphasises that content showing first-hand experience combined with expertise can perform better. Search Engine Journal+2fatjoe.+2
User Experience and Interface – How to Present It on Your Site
When you publish this article on your website, the experience matters. Here are some tips:
- Use a clear heading and a “copy prompt” box so users can easily copy.
- Provide a short explanation and step-by-step guide.
- Maybe include a live example or before/after image (with permission).
- Make sure your page loads quickly, mobile-optimised, easy to read.
- Include your author bio and contact info to bolster trust.
Pros & Cons of Using a Pre-Written Prompt
Pros:
- Easy to copy and reuse.
- High consistency in results.
- Strong aesthetic outcome with proper input.
Cons:
- Users may expect perfect results even with low-quality photo input.
- The prompt might need slight tweaking for different user photos.
- Some generative tools may interpret prompts differently—results can vary.
People Also Ask (PAA) – Common Questions Your Audience Might Type
- How do I turn a regular photo into a cinematic portrait?
- What prompt should I use for a hyper-realistic image generation?
- Can I change the background in generative AI to look like a café?
- What are the best lens and lighting cues for portrait-style image generation?
- Is it better to use 4:5 aspect ratio or another size for social media portraits?
Frequently Asked Questions (FAQ)
Q1: Do I need a professional photo to use this prompt?
A1: Not strictly; you need a reasonably clear photo with visible subject and some context (background, lighting). The better the photo, the better the final result.
Q2: What if the tool doesn’t interpret the prompt correctly?
A2: You may need to adjust input keywords (e.g., emphasise “cinematic portrait”, “85mm lens”, “moody tones”) or try a higher-resolution base photo.
Q3: Can I change the subject description in the prompt?
A3: Yes—you can adapt it to your scenario while keeping the structure and key cues for style.
Q4: Is the aspect ratio 4:5 mandatory?
A4: It’s optimum for vertical portrait style (especially for social platforms), but you can experiment with other ratios if needed.
Q5: Does this work with any generative model?
A5: Most advanced image-generation tools will recognise portrait, lens, lighting cues—but results may vary depending on the system’s capabilities.

👤 M Arslan – Founder of Perfact AI and a university student from Pakistan. Passionate about Artificial Intelligence, I share free AI prompts to help people create stunning images and explore digital creativity. My goal is to make AI simple, accessible, and fun for everyone.